On this page
Choosing a brand and model line
Some shoppers start with a brand, for example a Scandinavian cast-iron maker such as wood, or a particular numbered model line. We don't rank brands here. For any insert, four things matter most. It has to fit your firebox. Its heat output has to suit the space. It has to be certified for current emission rules. And its manual has to list installation requirements your chimney can meet. If you're also weighing a freestanding stove, see what a wood stove installation involves on the chimney side. If you're torn between fuels, read whether gas or wood suits your home.
How an insert installation comes together
From open fireplace to working insert
Inspect
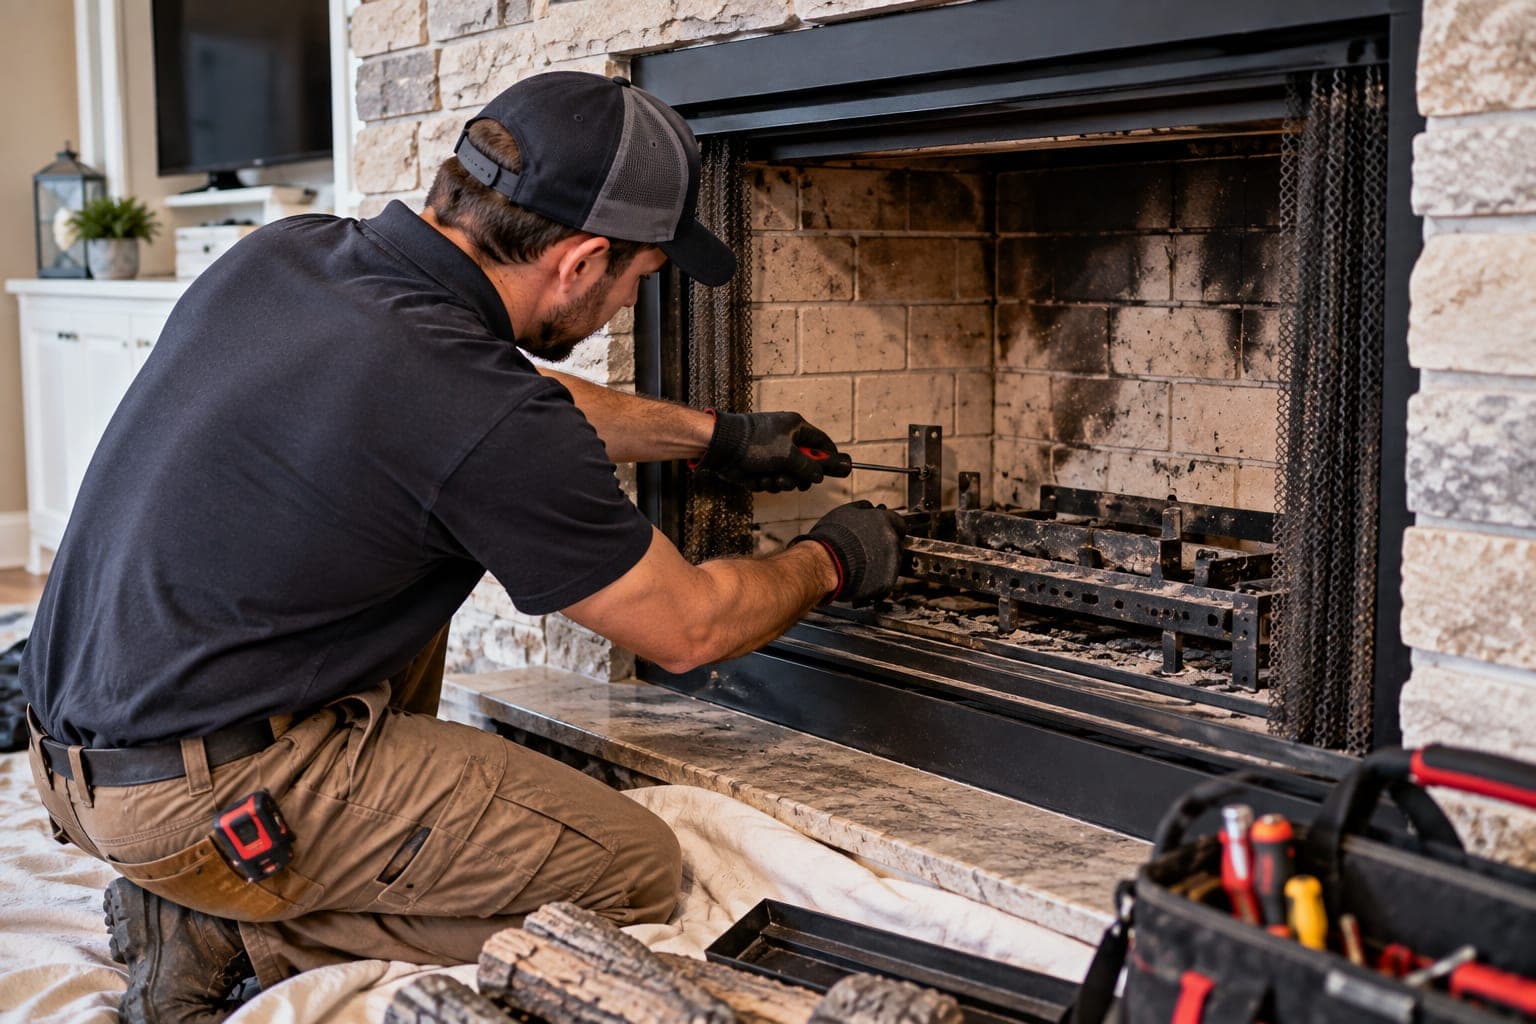
Check the firebox, smoke chamber and flue for cracks, gaps or damage that should be repaired first.
Clean
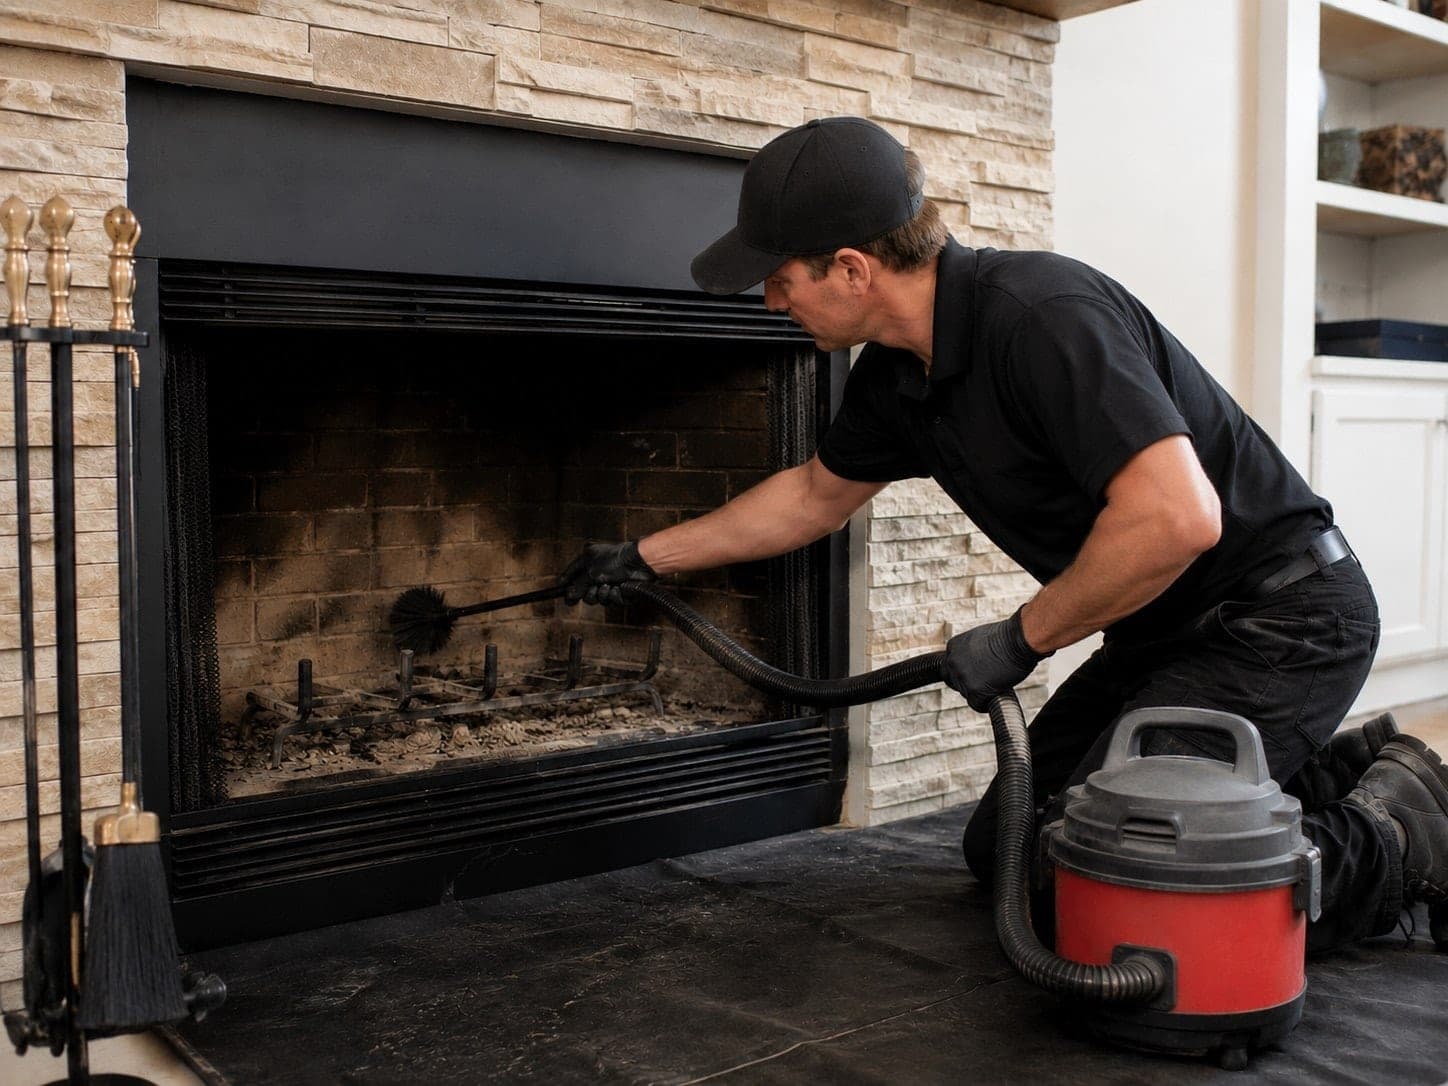
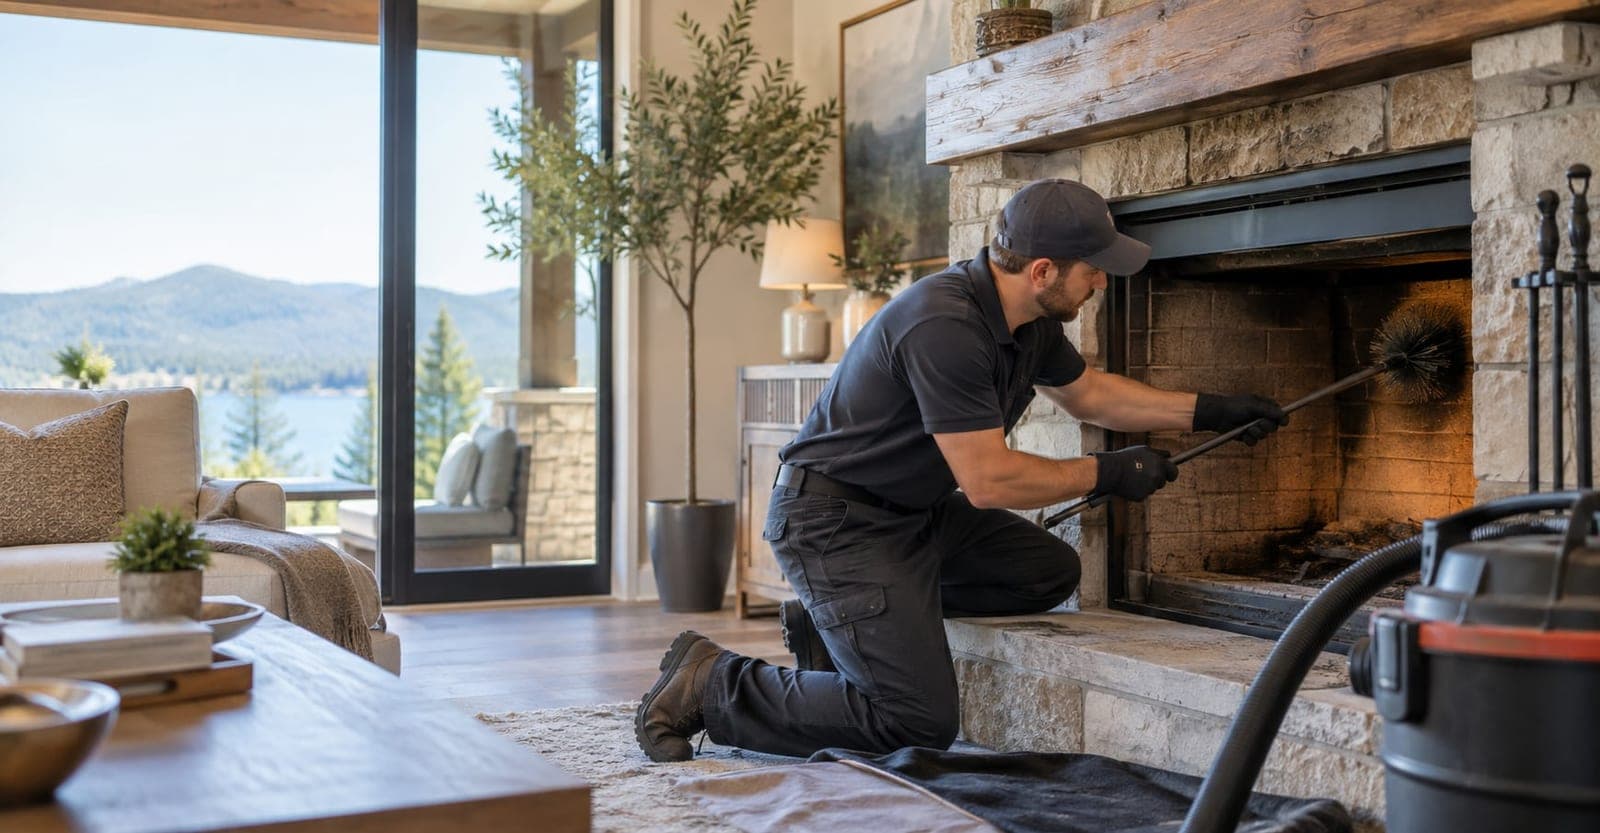
Sweep out years of fireplace soot and creosote before anything is connected.
Line
Run a liner sized to the insert's outlet from the insert to the top of the chimney, then cap it.
Set and connect
Slide the insert into place, connect it to the liner and seal the surround according to the manual.
Follow up
After the first stretch of regular burning, schedule fireplace insert cleaning so deposits don't build up unchecked.
Once it's running, an insert needs the same routine attention as a freestanding wood-burning stove. Many of the chimney problems homeowners run into most are easier to catch when the liner is checked each year.
How a stove visit runs
Stoves burn hotter and smokier at low settings than people expect, so the flue collects creosote faster than an open fireplace's. A cracked or missing baffle sends heat and smoke straight up the flue and raises creosote buildup.
Hear what it's doing
How the stove burns, what's changed and when — that points to the door, the baffle, the air supply or the flue.
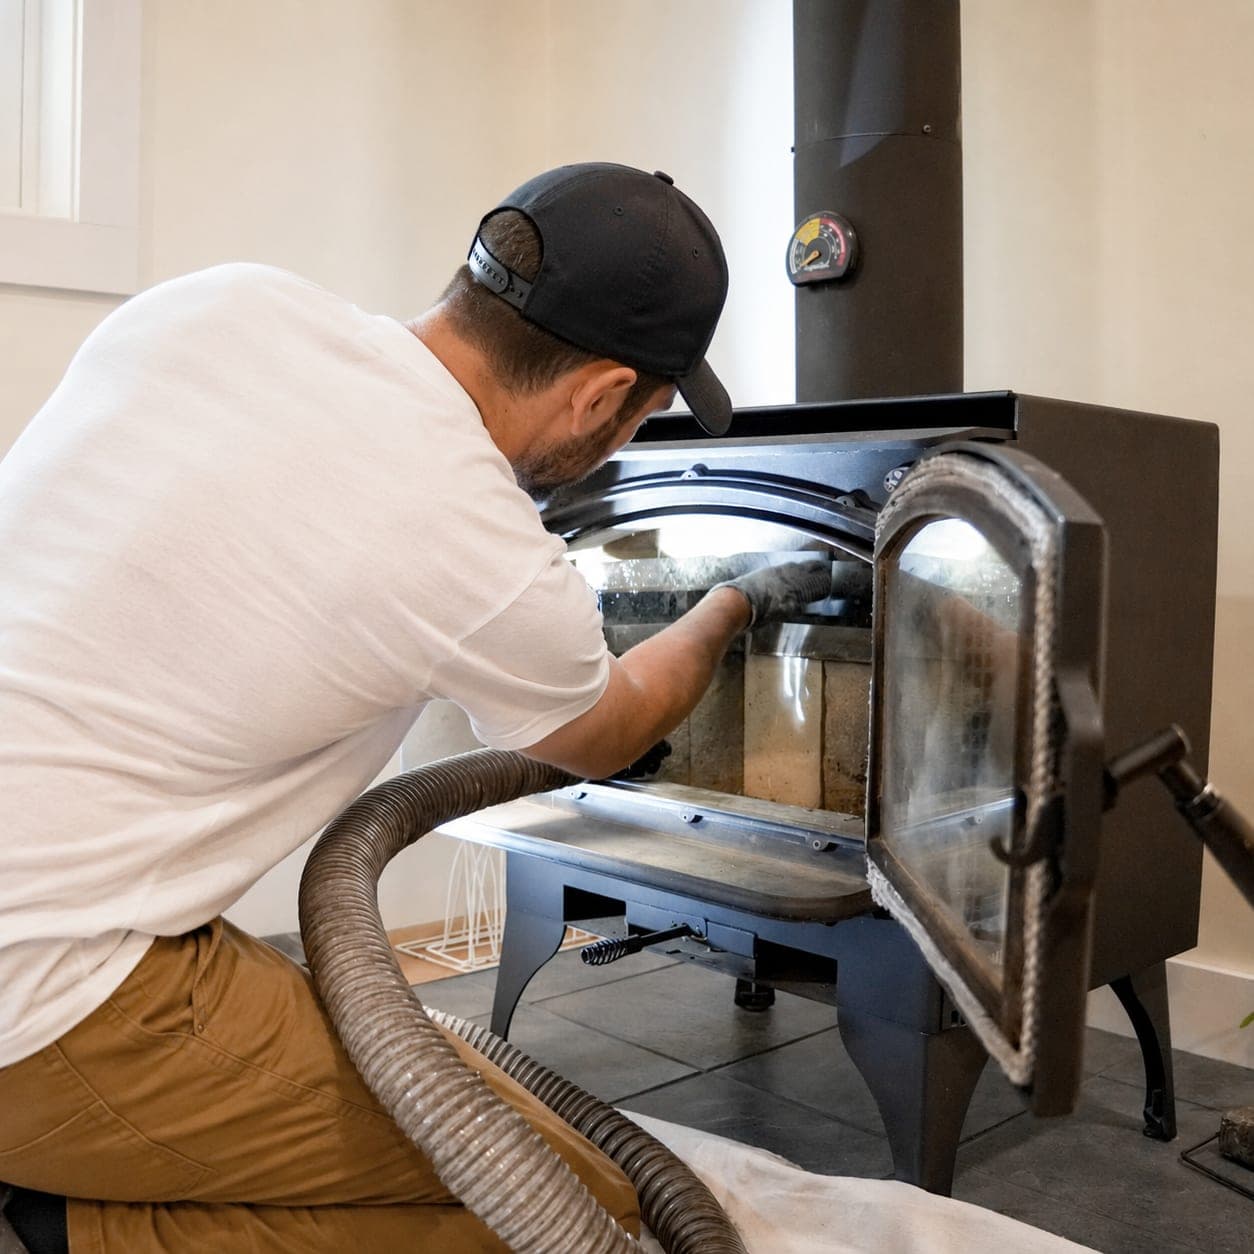
Check the stove itself
Door latch and gasket, glass, firebrick, baffle, air controls and the body for cracks or warping.
Check the connector and flue
Pipe joints, the thimble or liner connection, clearances to walls, and the flue for creosote and draft.
Explain and agree
What needs cleaning, adjusting or replacing, before any work starts.
What we look at
- Draft with the door closed
- Door latch, gasket and glass seal
- Air controls and their range
- Creosote in the connector and flue
- Firebrick and baffle condition
- Clearances to walls, floor protection and the hearth pad
Before the technician arrives
- Let the stove or insert go out and cool completely — ideally no fire for a full day before the visit.
- Make sure the roof or the attic access can be reached if the flue needs to be checked from above.
- Write down what you've noticed — smoke at the door, a hard-to-control fire, noises or smells.
- Have the make and model handy; it's usually on a plate on the back or under the ash lip.
Signs to watch for
- Rust, gaps or soot streaks at connector pipe joints
- Smoke escaping when the door is opened, or around a closed door
- Cracked firebrick or a sagging or broken baffle
- A door that doesn't latch firmly or a gasket that's flattened or frayed
- Heavy black deposits on the glass after short burns
Signs of a chimney fire
A loud roaring sound, a glowing connector pipe, dense smoke or sparks from the top of the chimney can mean a chimney fire. Get everyone out and call 911; have the system inspected before the next fire.